How do I download my room booking billing data
How to generate a billing file for upload into your finance system
Accessing The Billing File
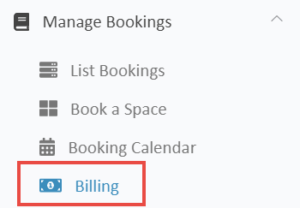
Once logged into Meeting Hub as a BC Admin User Type, you will find the Billing Menu under ‘Manage Bookings’:
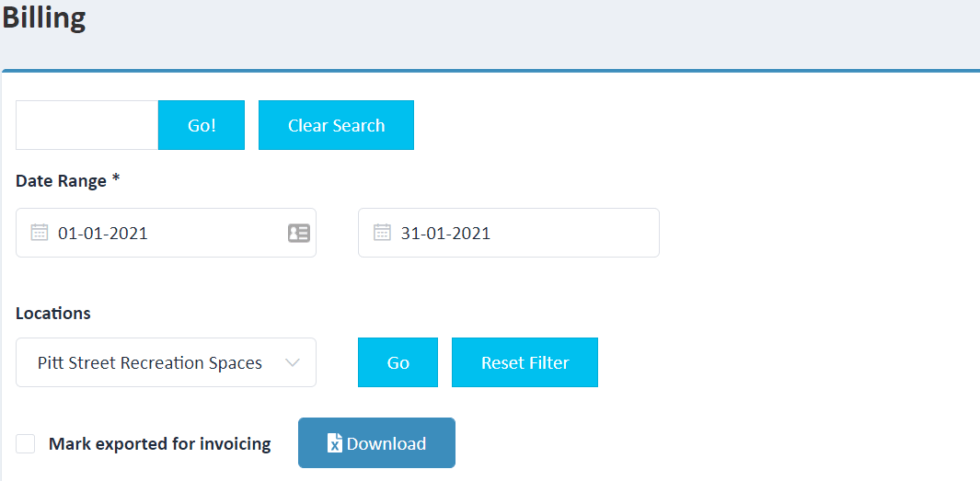
Once selected, the billing page will display in list view, showing all booking data within Meeting Hub. Filter the data by date range and/or Location, which allows for centralised or distributed billing processes.
Generating the file
Before you generate the billing file, ensure that field mapping has been completed.
To generate the billing file, complete the steps below:
- Enter the start date from which you wish to display bookings
- Enter the end date from which you wish to display bookings
- Select the Location for which you would like to display bookings. If you wish to List all Locations simply leave this section blank
- Click ‘Go’ to display your required search parameters
- Click ‘Download’ to export to Excel. The downloaded file can be saved in the format required by your accounting software (E.g. CSV file), this will enable you to upload the file directly to your accounting software once all relevant fields have been mapped.
NOTE: Ticking ‘mark exported for invoicing’ means these charges have now been exported from Meeting Hub to your accounting software. This will influence the numbering of subsequent transactions (reschedule, cancel, add charge, refund charge or extend booking) associated with this booking.
Importing the File
To import the Meeting Hub Billing File into your finance software, you must have mapped all necessary fields. Field Mapping is completed on the Manage Space / Facilities > My Organization Settings page – scroll to Billing File Columns.