How to configure a Security Bond
How to configure the Security Bond amount
Meeting Hub Pro customers have the option to add a Security Bond to their spaces.
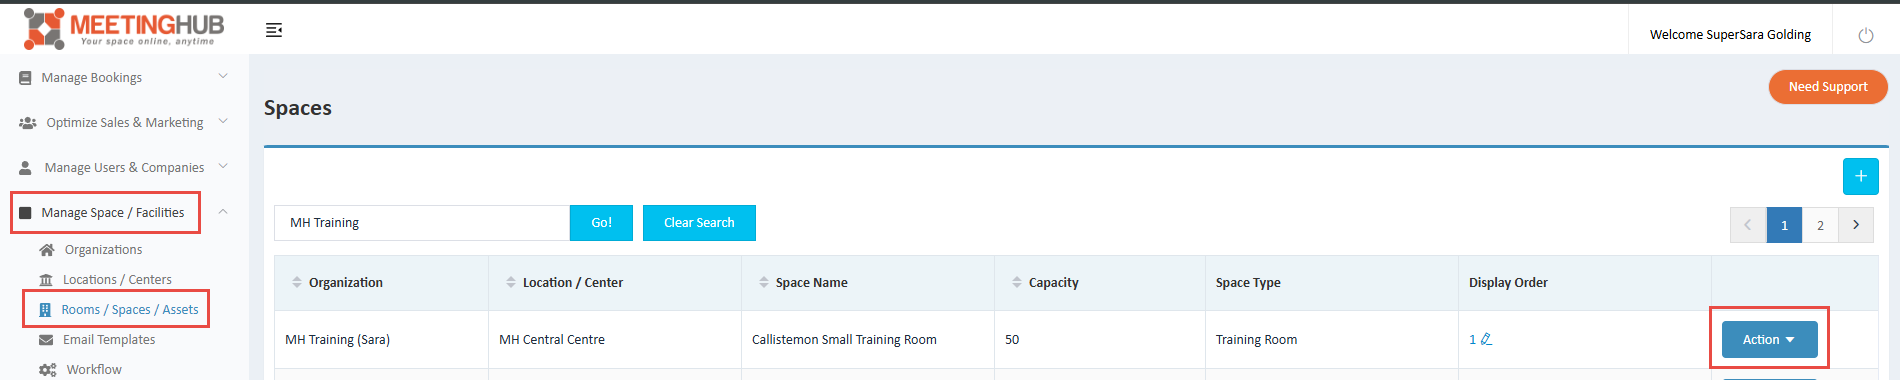
To do this navigate to Manage Space / Facilities > Rooms / Spaces / Assets - select the Space you wish to add a security bond to and click on the Action Button and select Edit.
Scroll down the Space page to the Rates Section, simply tick the Security Bond Required tick box and add the amount to be charged as a Security Bond Payment.
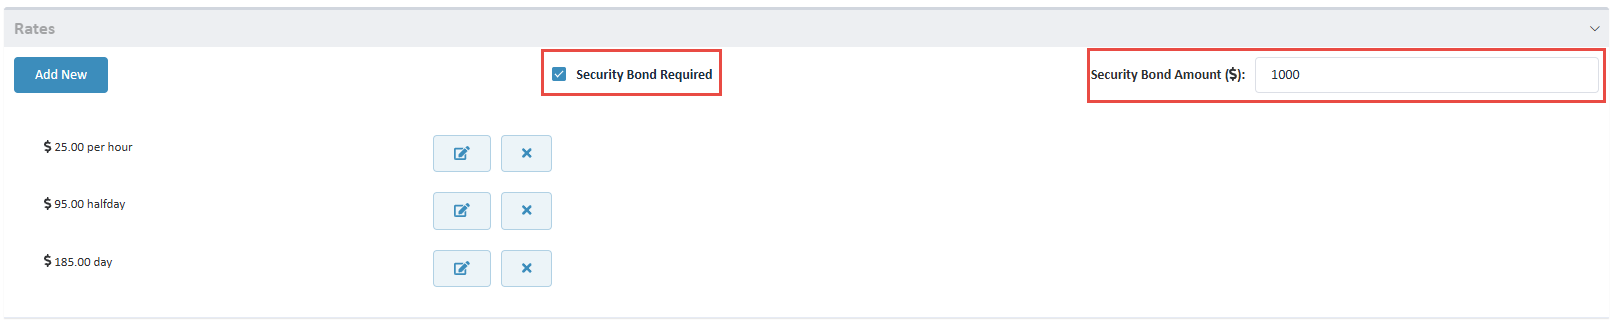
Scroll down the page and click Save to save these updates to your Space.
How to set up Email Templates for Collection and Return of the Security Bond
Once the Security bond has been configured on the Space you'll now need to set up the email templates to be triggered for the collection and return of the bond.
Transaction Date Security Bond Email
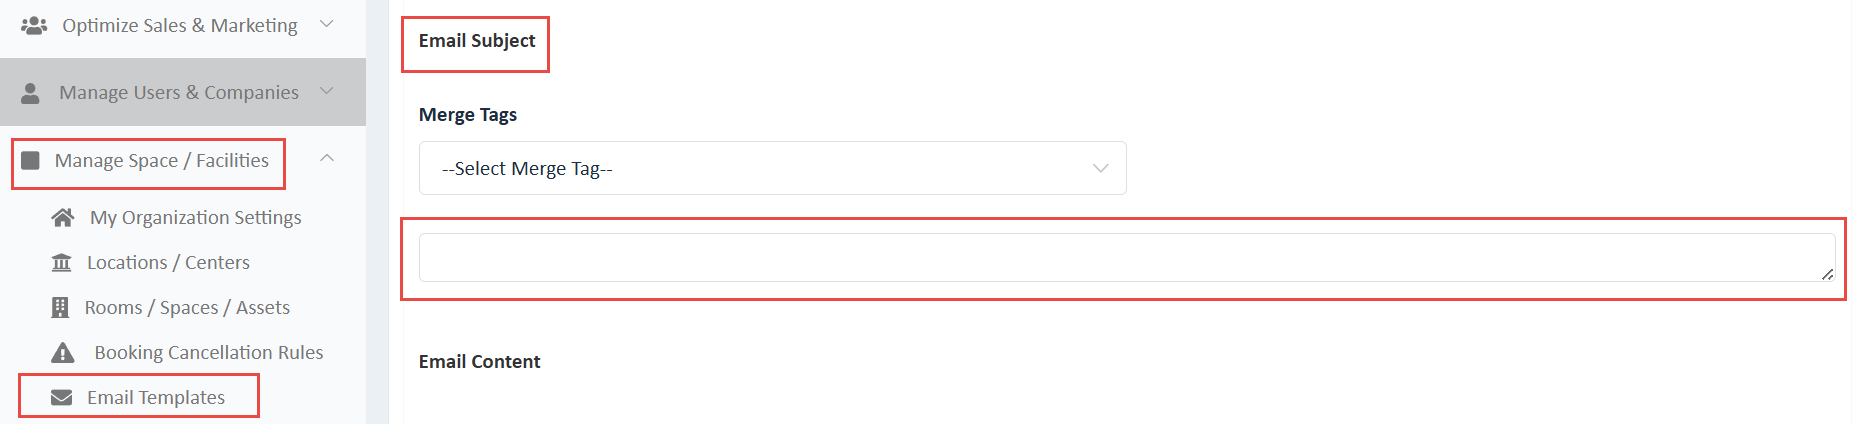
Navigate to Manage Space / Facilities > Email Templates.
Check your email templates to see if you already have the "Transaction Date Security Bond Requirements" Email Template set up. If not Click the + button at the top of the page.
Add the Subject of the email to the Email Subject text box beneath the Merge Tags box.
Next, add / edit the content of the email to suit your business needs. You can select Merge Tags to auto populate available Merge Tags such as User First Name.
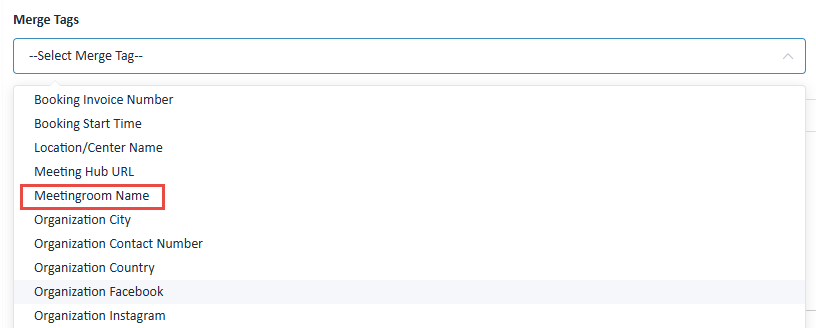
Below is an example email including the Merge Tags.

Scroll down the page and click Save to save the Email Template
Repeat the email template steps above to also create an Email Template for "Security Bond Refund Day After"
Next you will need to create the Workflow trigger for these emails. Refer to the Workflow knowledge article on how to do this. For the Transaction Date Security Bond email you'll want to select the Transaction Date Workflow. For the Security Bond Refund Day After you'll want to select the Event Date Workflow.