How to edit email templates in Meeting Hub
Easily add your own wording to Meeting Hub email templates
Meeting Hub Pro package customers are able to edit wording within email templates. The following emails are sent from Meeting Hub, and each email is editable:
- User Registration
- Booking Confirmation User
- Booking Confirmation Center
- Booking Reschedule User
- Booking Reschedule Center
- Booking Additional Charges User
- Booking Additional Charges Center
- Booking Refund User
- Booking Refund Center
- Booking Cancellation User
- Booking Cancellation Center
- Recurring Booking Confirmation User
- Recurring Booking Confirmation Center
- Recurring Booking Cancellation User
- Recurring Booking Cancellation Center
The following video tutorial walks you through how to edit email templates:
How to access email templates
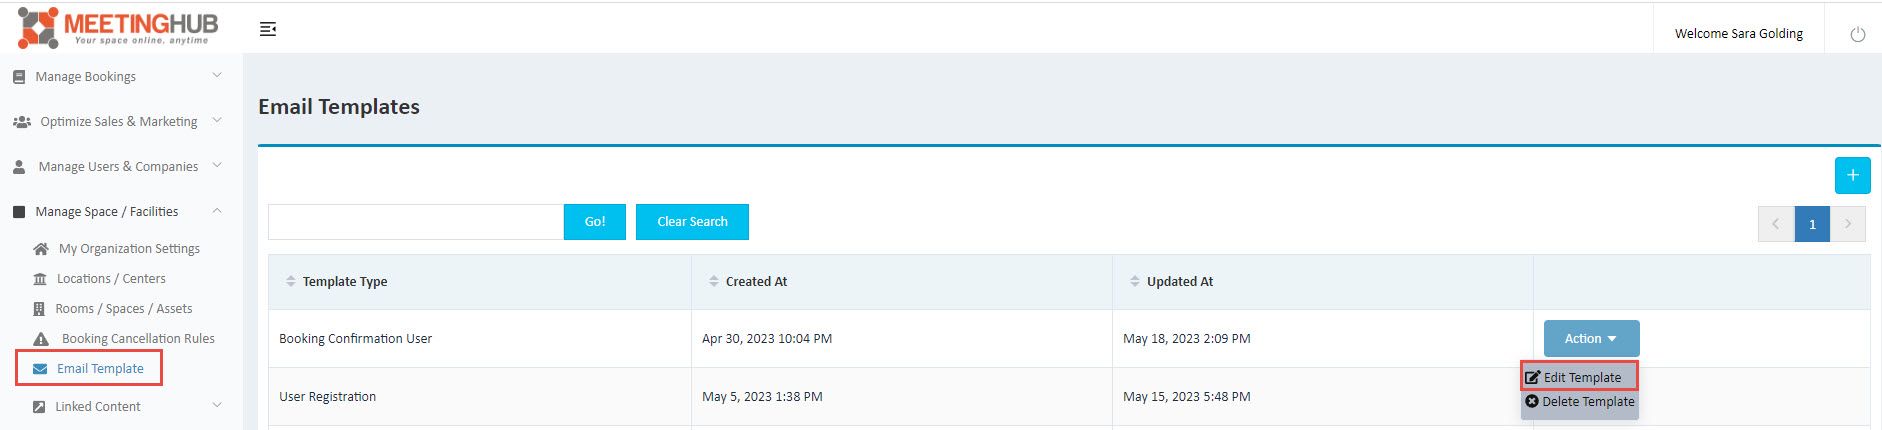
From the Admin Panel, select Manage Space / Facilities > Email Templates. Select the email template to edit by clicking on the Action button, and select Edit Template.
Merge Tags
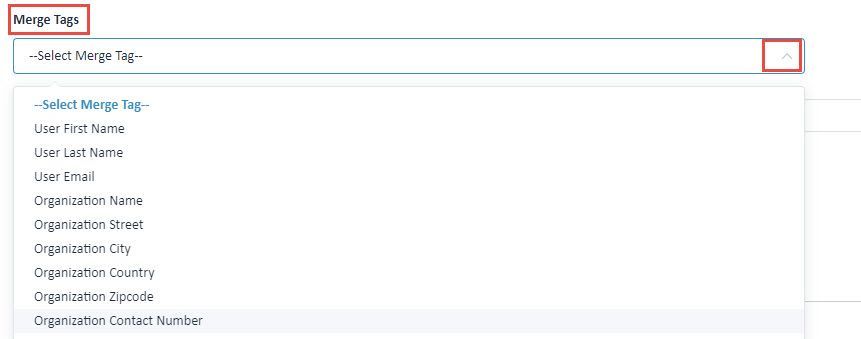
Merge Tags are pieces of data stored in Meeting Hub that auto populate into the email templates. An example Merge Tag is "User First Name", when selected this tag populates in to the email as "{{userFirstName}}" and when the email is sent will include the first name of the relevant User.
All available Merge Tags are held within the Merge Tags drop down. Once you have selected the relevant merge tag, it is important to check it is placed in the correct part of the email. If not you can simply cut and paste the text, including both curly brackets at either end.
Adding an image to your email
Should you wish to add an image to your email (for example your company logo within the email footer), you can do so by clicking on the image icon shown in the screenshot below:
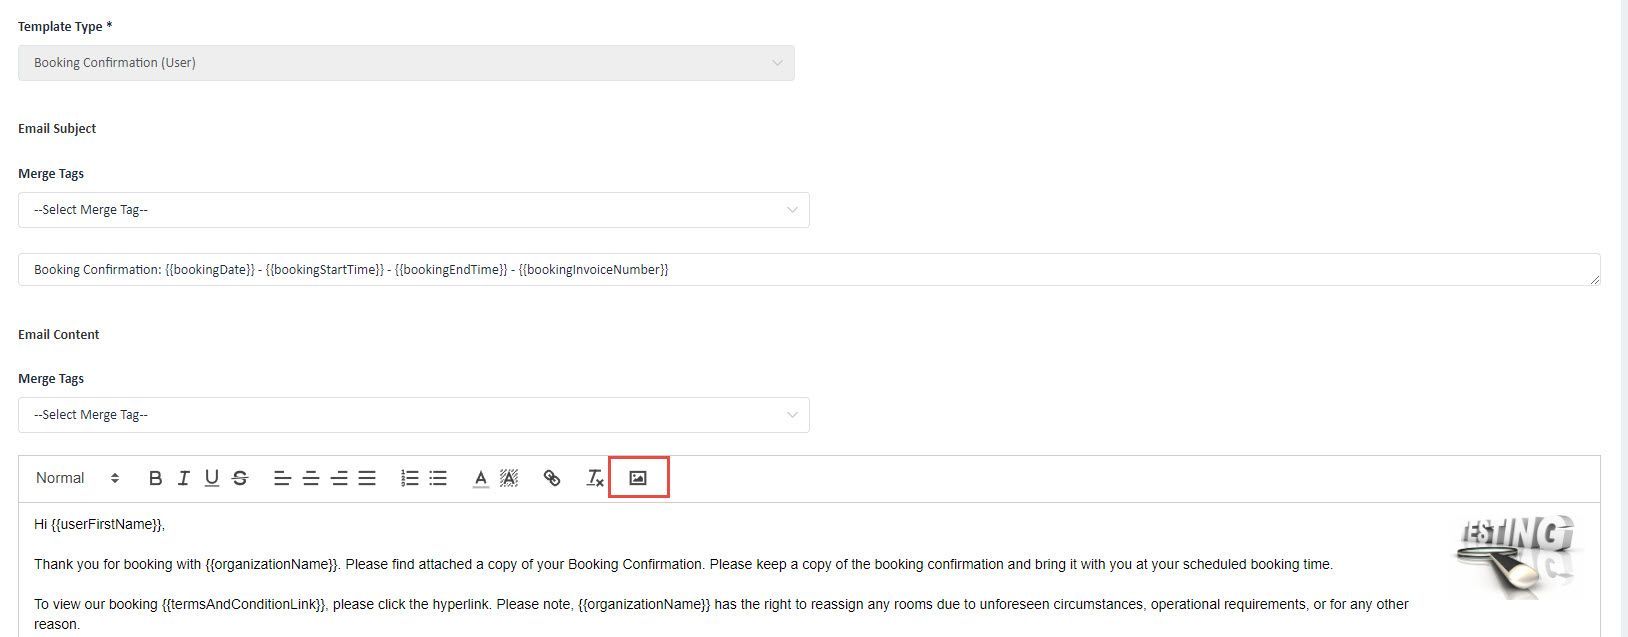
Edit the email to suit your needs. Remember, you can use the formatting toolbar to add headings, change the colour of text, add numbering or bullets or add a hyperlink (a link to a webpage). For content such as an email sign off including your logo you may wish to copy and paste this into each email template rather than retyping in each email.
It's now also possible to add a single PDF attachment to your email. The PDF cannot be any larger than 2 Mb. To add a PDF attachment, click on the Upload PDF button and select the PDF you'd like to upload.

Saving your email
Once you have edited the email, and you are happy with the content, scroll to the bottom of the page and click Save. Once saved, this will be the template used for your organisation going forward.
Once all of your emails have been edited and any PDF attachments uploaded you can now enable Email Templates for your organisation. Until it is enabled, the standard email templates will be utilised. Navigate to Manage Space / Facilities > Organisations, scroll down to Settings and place a tick in the Use Email Template check box. Scroll down the page and click on Save.